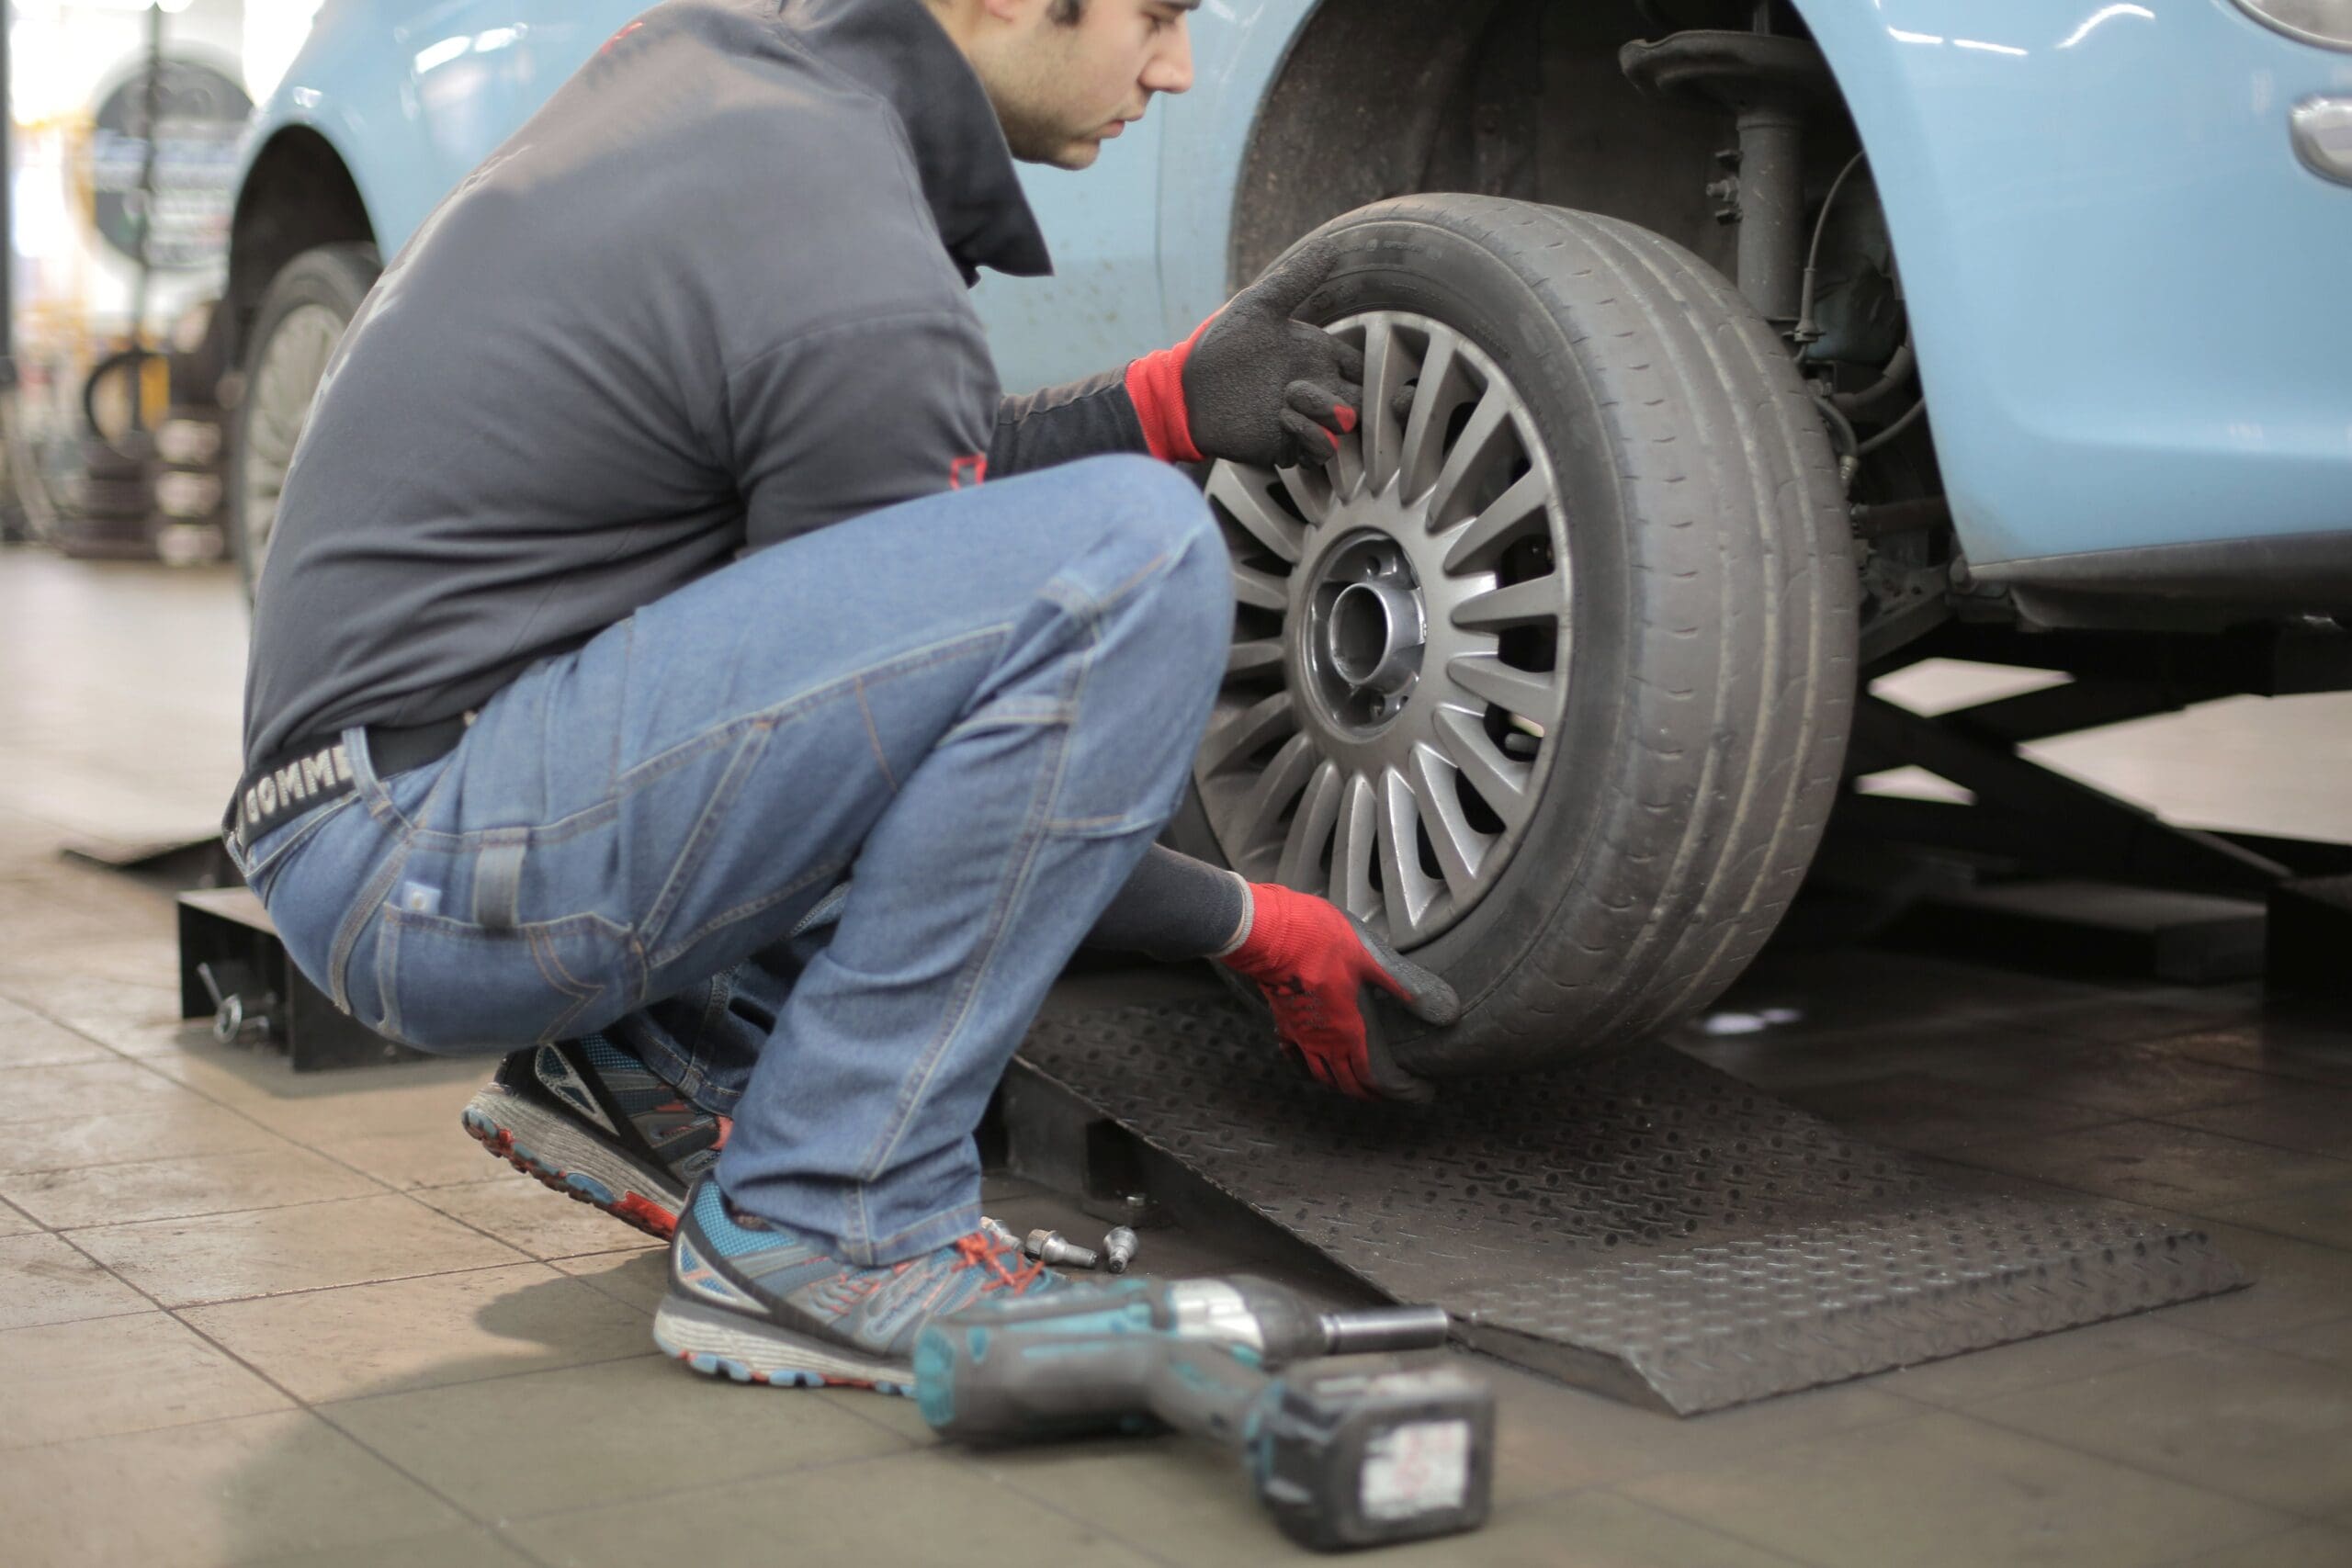
Changing a tire on your van doesn’t have to be a daunting task. With the right tools and knowledge, it can be a straightforward process. Whether you’re driving a classic model or the latest 2024 van, this guide will walk you through each step. Remember, keeping your van in good condition is essential, but when it’s time to move on, sellmybrokenvan.com offers great value for your vehicle, regardless of its condition.
Step 1: Prepare Your Tools
Before you start, make sure you have the necessary tools. This includes a jack, a lug wrench, and of course, your spare tire. Ensure your spare tire is inflated and in good condition. If you’re unsure about what tools are best for your van, check out manufacturer-specific advice at sellmybrokenvan.com.
Step 2: Find a Safe Location
Safety is paramount. If you’re on the road, find a flat, stable, and safe place to park. Turn on your hazard lights and keep your parking brake engaged. It’s crucial to avoid changing your tire on uneven ground or in a hazardous location.
Step 3: Loosen the Lug Nuts
Before lifting the van, loosen the lug nuts slightly. You might need to remove the hubcap. Turn the lug nuts counterclockwise using the wrench. Don’t remove them completely yet; just break the resistance.
Step 4: Lift the Van
Place the jack under the van. The correct spot is usually beneath the vehicle frame alongside the tire that’s flat. Refer to your van’s manual for the exact location. Pump or crank the jack to lift the tire off the ground. Ensure it’s high enough for both the flat tire and the spare tire to fit.
Step 5: Remove the Flat Tire
Now, fully remove the lug nuts and keep them safe. Gently pull the tire towards you until it’s free from the hub. Set it aside in a safe place.
Step 6: Mount the Spare Tire
Lift the spare tire and align it with the wheel bolts. Push gently until the tire is on the wheel base. Screw the lug nuts on by hand. Don’t tighten them fully yet.
Step 7: Lower the Van and Tighten the Lug Nuts
Use the jack to lower the van so that the spare tire is in contact with the ground but the full weight of the van isn’t on the tire. Now tighten the lug nuts with the wrench, going in a star pattern. This ensures even tightening.
Step 8: Lower the Van Completely
Bring the van back down to the ground completely and remove the jack. Give the lug nuts one more tighten to ensure they’re as tight as possible.
Step 9: Stow Your Equipment
Put all your tools and the flat tire back in your van. Make sure they’re securely stored.
Step 10: Check the Spare Tire Pressure
As soon as possible, check the spare tire’s pressure to ensure it’s safe to drive on.
Step 11: Visit a Professional
Lastly, remember that a spare tire is a temporary solution. Visit a professional to get a new tire or, if your van is facing more serious issues, consider selling it. Visit sellmybrokenvan.com to explore options for your van, regardless of its make and model.
Changing a tire is a valuable skill, and knowing how to do it on your van can save you time and stress. For more information on van maintenance and when it’s time to sell your van, visit sellmybrokenvan.com. Whether you’re dealing with a flat tire or looking to sell your van, we’re here to help.

